
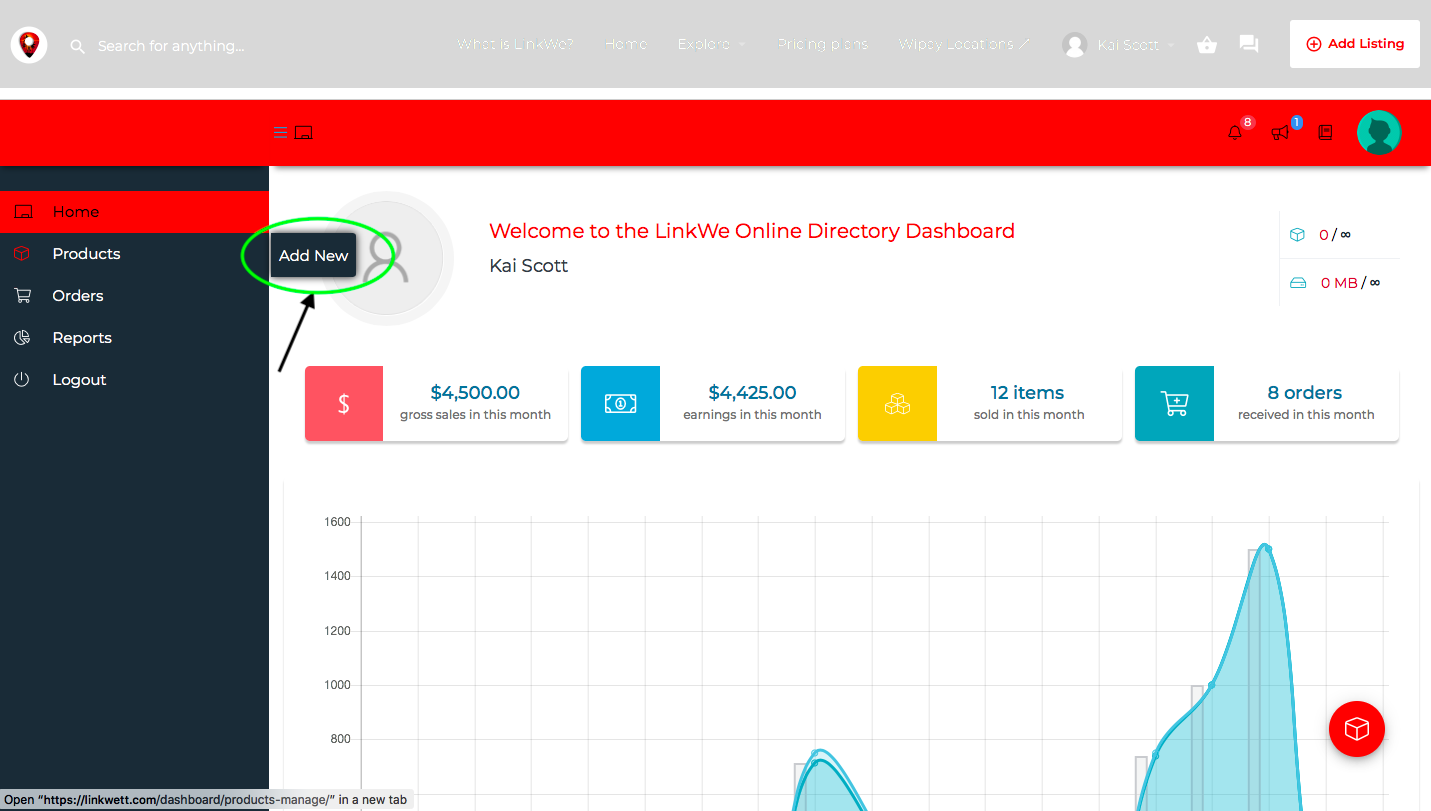
Adding a product is very easy to do.
- In your Vendor Dashboard go to > Products > Add Product.
- Choose what type of product you want to build.
- Under the Product Type you can select downloadable (digital) or virtual (for bookings) if applicable.
- Enter a Product Title.
- Under the Product Title will be the Price settings:
- Regular Price – Item’s normal/regular price.
Sale Price – Item’s discounted price that can then be scheduled for certain date ranges. The sale expires at 11:59pm of the specified end date.
6. Enter a Short Description & Description for your product.
Product Data
The Product Data meta box is where the majority of important data is added for your products.
- Inventory Tab
The inventory section allows you to manage stock for the product individually and define whether to allow back orders and more. It enables you to sell products and allow customers to add them to the cart to buy.
- Enable Stock Management (Manage Stock) must be selected in otherwise, only the ‘Stock status’ option is visible in the Product Data Inventory box.
When stock management is disabled. You are responsible for updating the Stock Status.
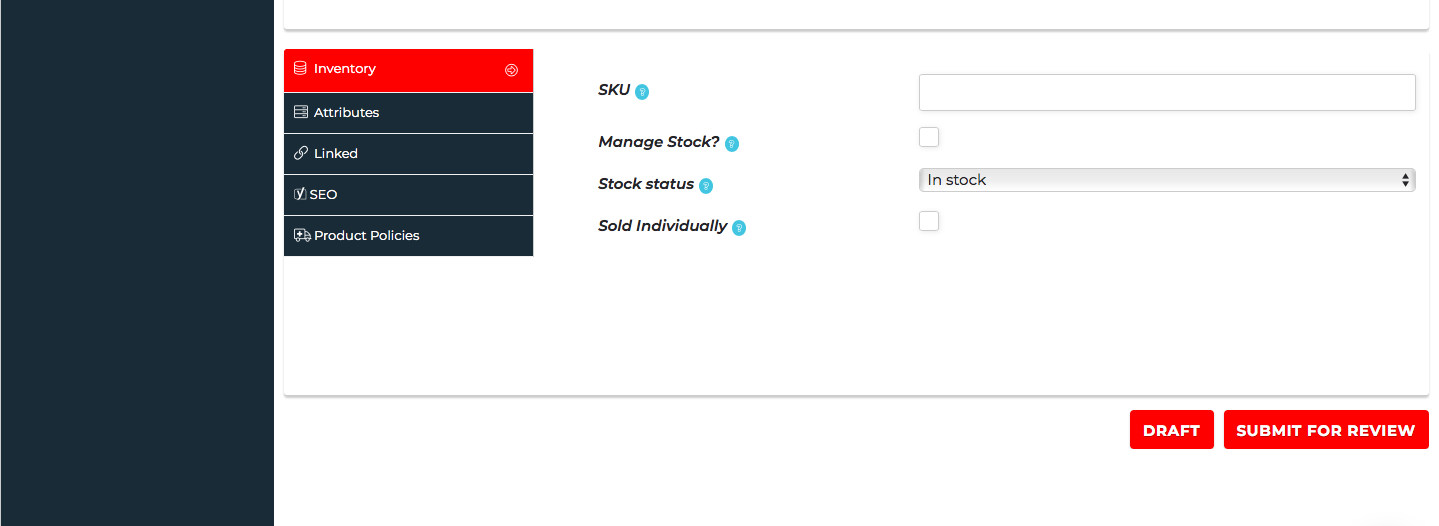
Options when Manage Stock is enabled:
- Enter the Stock Quantity, and LinkWe auto-manages your inventory and auto-updates the Stock Status as Stock, Out of Stock or On Backorder.
- Select whether to Allow Backorders.
Tick the Sold Individually box to limit the product to one per order.
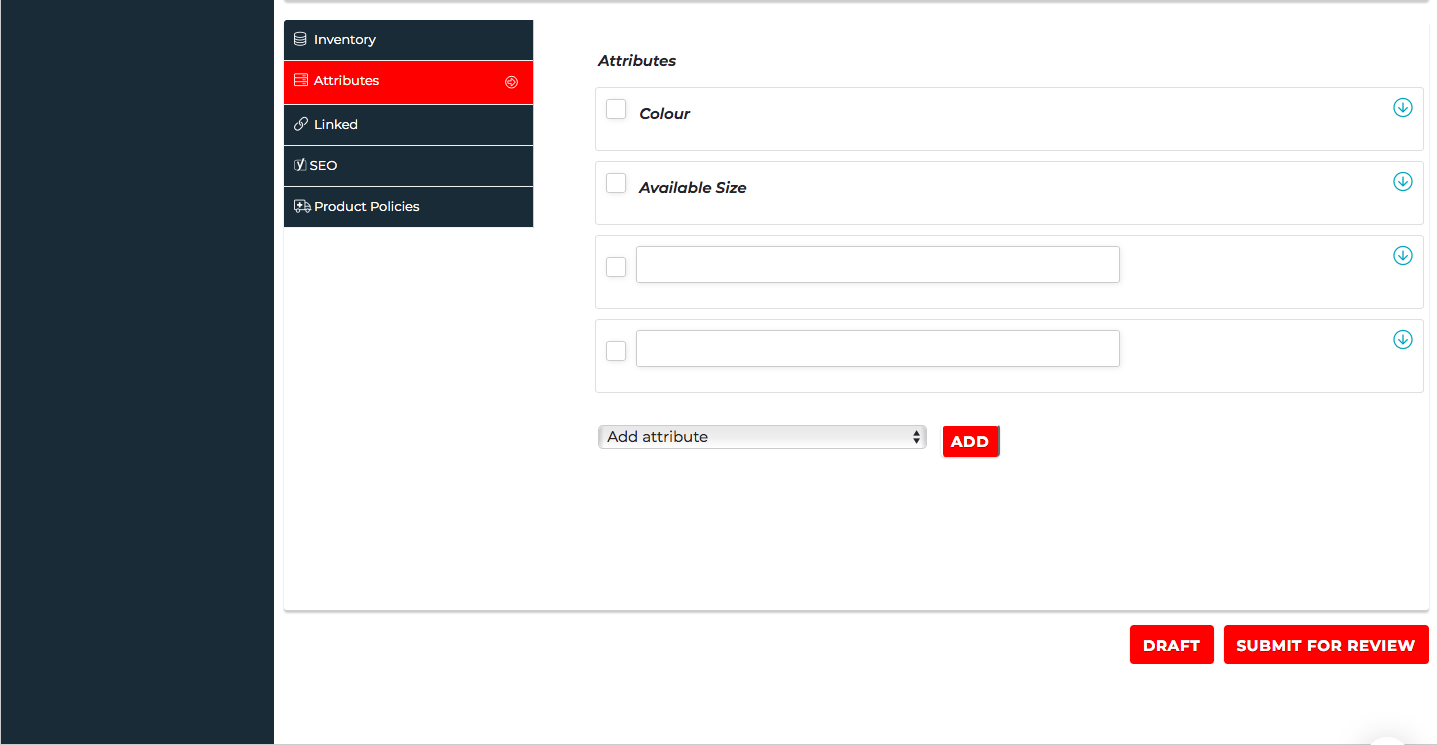
Attributes Tab
On the Attributes tab, you can assign details to a product. You will see a select box containing global attributes sets (e.g., colour, size). You can hide the attribute on the frontend by leaving the Visible checkbox unticked.
Try to refrain from ADDING YOUR CUSTOM ATTRIBUTE. You can use the various options.
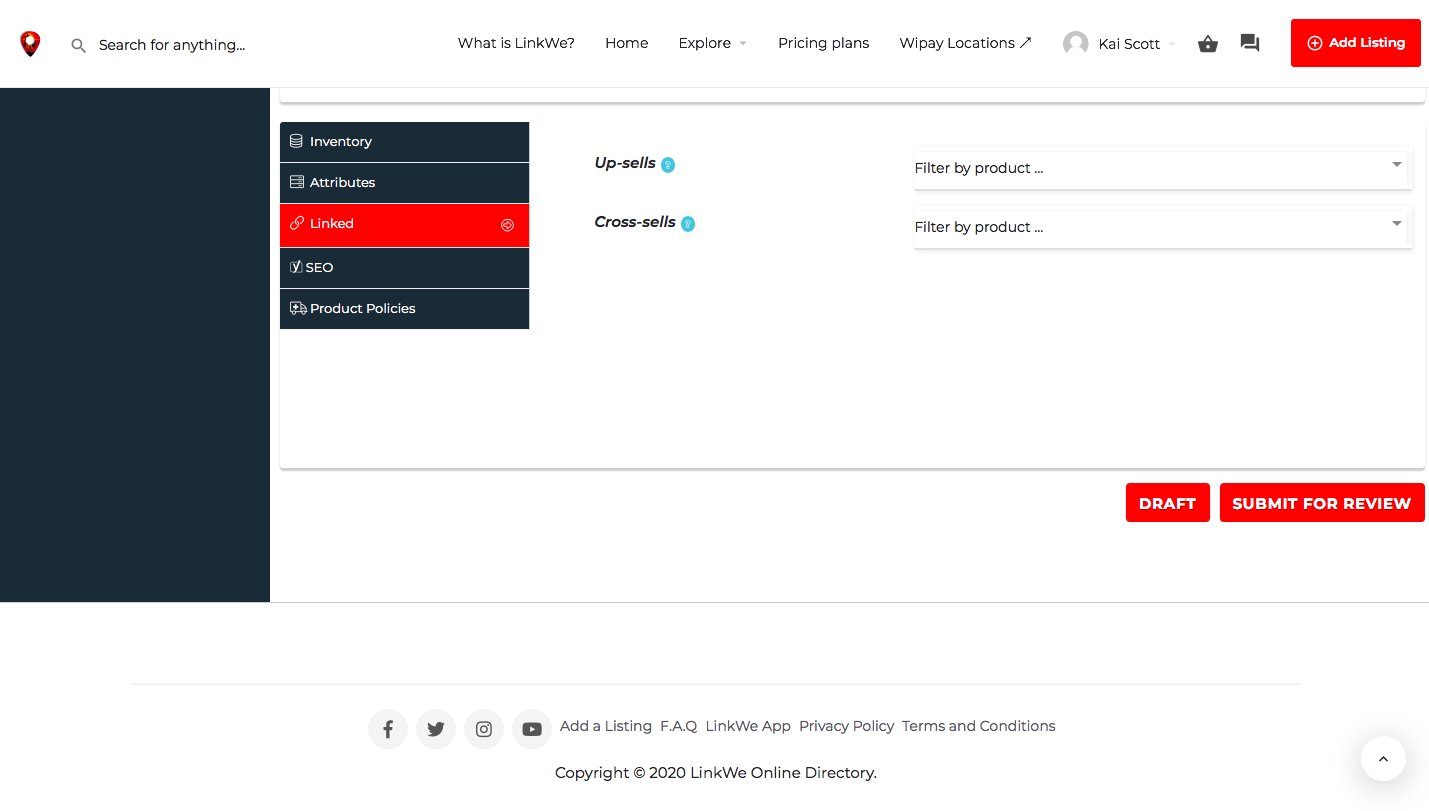
Linked Tab
Using up-sells and cross-sells, you can cross promote your products. They can be added by searching for a particular product and selecting the product from the dropdown list:
- Up-sells are displayed on the product details page. These are products that you may wish to encourage users to upgrade, based on the product they are currently viewing. For example, if the user is viewing the coffee product listing page, you may want to display tea kettles on that same page as an up-sell.
- Cross-sells are products that are displayed with the cart and related to the user’s cart contents. As an example, if the user adds a Nintendo DS to their cart, you may want to suggest they purchase a spare stylus when they arrive at the cart page.
Categories
On the right-hand side of the Add New Product panel, there are product categories in which you can place your product. You can also assign product tags in the same way.
Adding Product Images and Galleries
Adding product images and galleries are options available on the right-hand side when adding or editing a product in your store.
Seo Tab
For google search purposes. See Yoast Seo Website for more info.
Product Policies
Add various policies to your product.
Adding your Store Listing is the final process to go live and start selling.
- Click the “Add Listing” tab in your Warehouse Dashboard,.
- Choose what store type your business caters for.
- Choose which package is best suitable for you.
- Complete the form and click submit.